by Mark Nemtsas | Mar 27, 2017 | How To, Tips and Tricks
Running the Employee ID Report
This Time Clock MTS How-To article explains how to email payroll reports using Time Clock MTS Version 6 and later. Note that this will only work if you’re NOT using web-based email. So you’ll need to be using desktop email software like Outlook or Thunderbird or The Bat!. If you’re using web-based email like GMail or Hotmail then you’ll have to export your time clock reports to one of the many available formats and attach them to an email manually. If you’re using a desktop email program like Thunderbird that allows you to send email using a Hotmail or GMail account then YOU CAN EMAIL TIME CLOCK REPORTS using Time Clock MTS.
Time Clock MTS can create payroll reports and attach them directly to an email in many different file formats including PDF, HTML, Rich Text (RTF), Excel (XLS and XLSX), comma separated (CSV), plain text, and various direct image formats such as bitmaps, JPEG, and PNG.
Here’s how to email a Time Clock MTS Payroll Report:
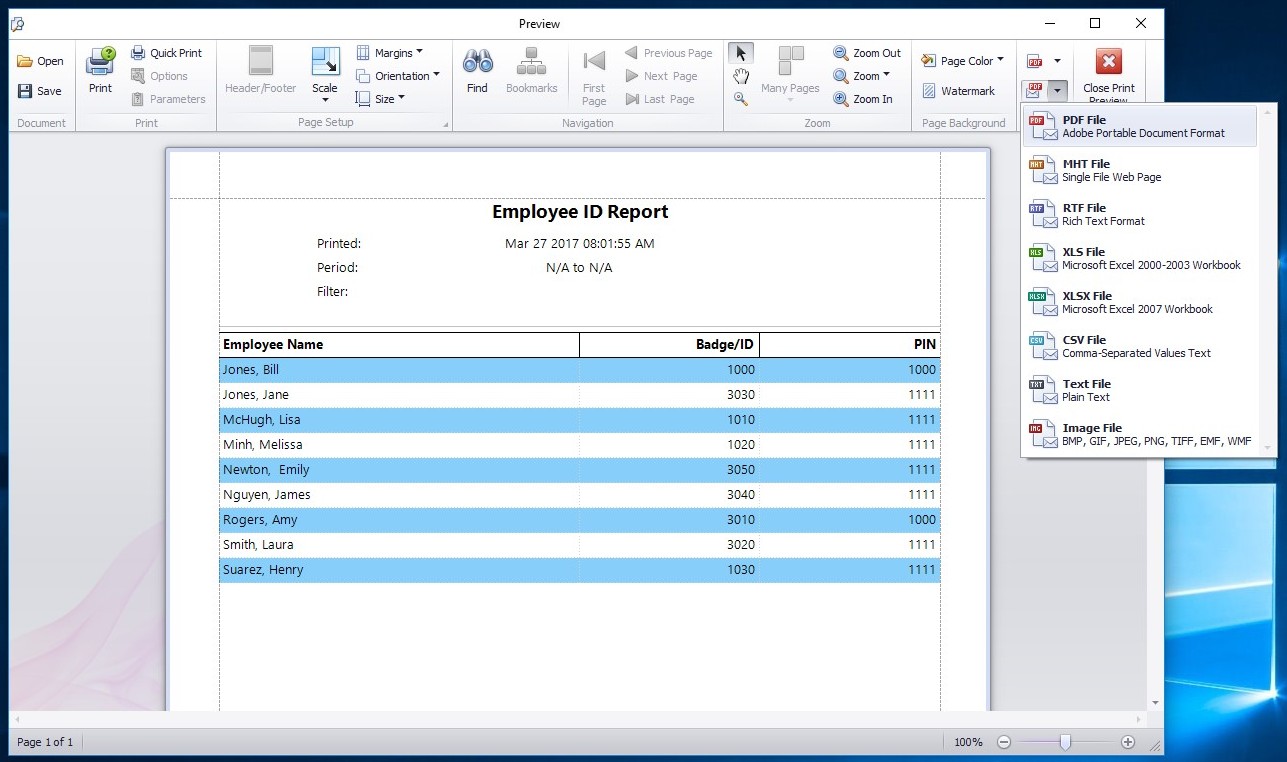
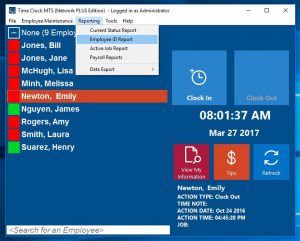
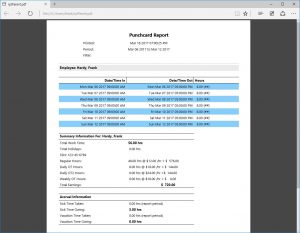
- Log into Time Clock MTS as the administrator or as the reports user and run a payroll report. In this example we’re going to run the Employee ID Report (see image at the top of this article).
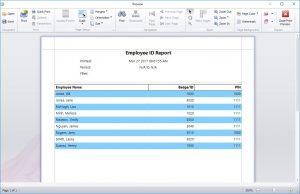
The Employee ID Report
- When the report is generated it’ll be shown to you in the reporting window (see above). Look for the Email Report button on the far right of the toolbar and click it. When clicked a drop down will appear showing you the various file formats the report can be emailed in (see image below).
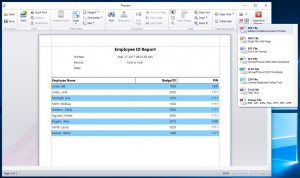
Emailing the Report as PDF File
- Choose the format you want to email (we’re choosing PDF here) and Time Clock MTS will prompt you for a file name for the report (see image below).
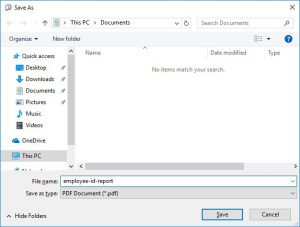
Choosing a File Name
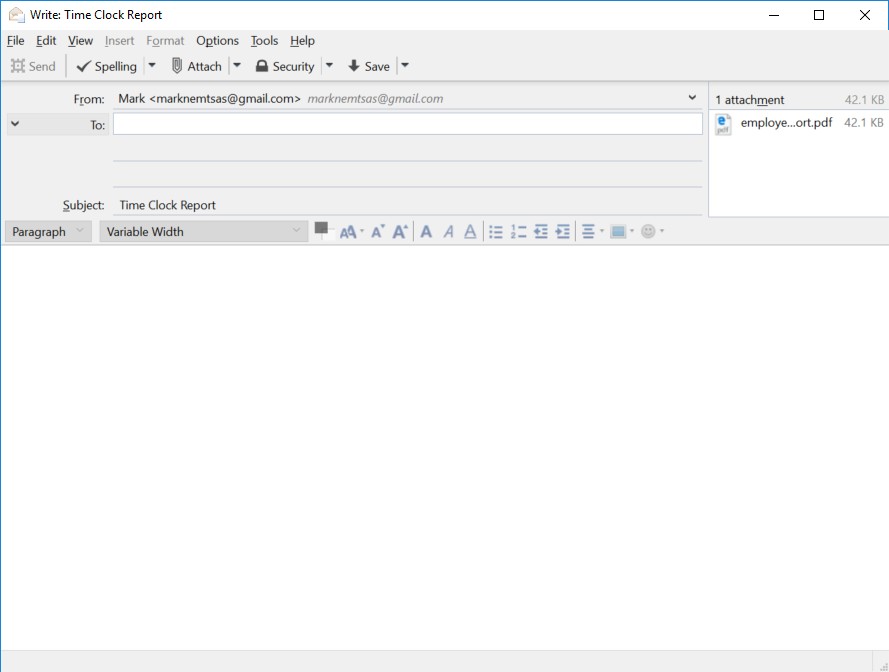
- Give the report file a name, click the SAVE button and in a second or two your email client will pop up a new email message with the report file attached to it (See below).
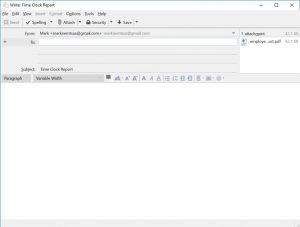
Ready to Email!
- Now you’re ready to add some text to the email and send it!
by Mark Nemtsas | Mar 17, 2017 | How To
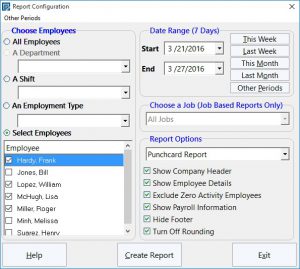
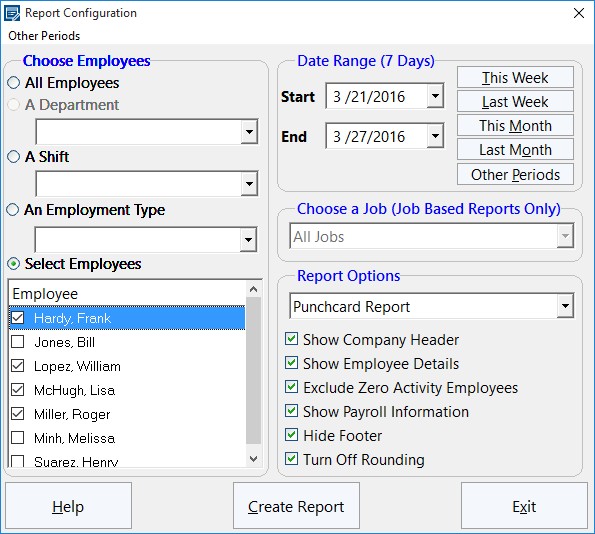
The Payroll Reports Configuration Screen
This Time Clock MTS How-To article explains how to export payroll reports for Time Clock MTS Version 6 and later. For earlier versions of the software read this article.
It is a common requirement that payroll reports from any employee attendance or time clock tool can be exported to other programs for further data processing or distribution about the company or to external service providers. Time Clock MTS is able to export all reports to a range of different formats including PDF, HTML, Rich Text (RTF), Excel (XLS and XLSX), comma separated (CSV), plain text, and various direct image formats such as bitmaps, JPEG, and PNG.
Here’s how to export a Time Clock MTS Payroll Report:
- Log into Time Clock MTS as the administrator or as the reports user and navigate to the Reporting->Payroll Reports menu.
- You’ll then be shown the Payroll Reports Configuration screen (see image at top of this page). Choose your report criteria (employees, departments, shifts, date range or job number) and one of the many payroll reports available in Time Clock MTS.
- Once you’re happy with the report selections click the Create Report button. Your report will be created and you’ll see a report something like that shown below:
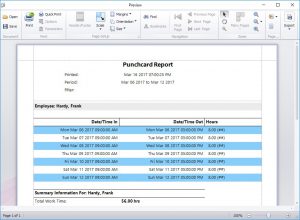
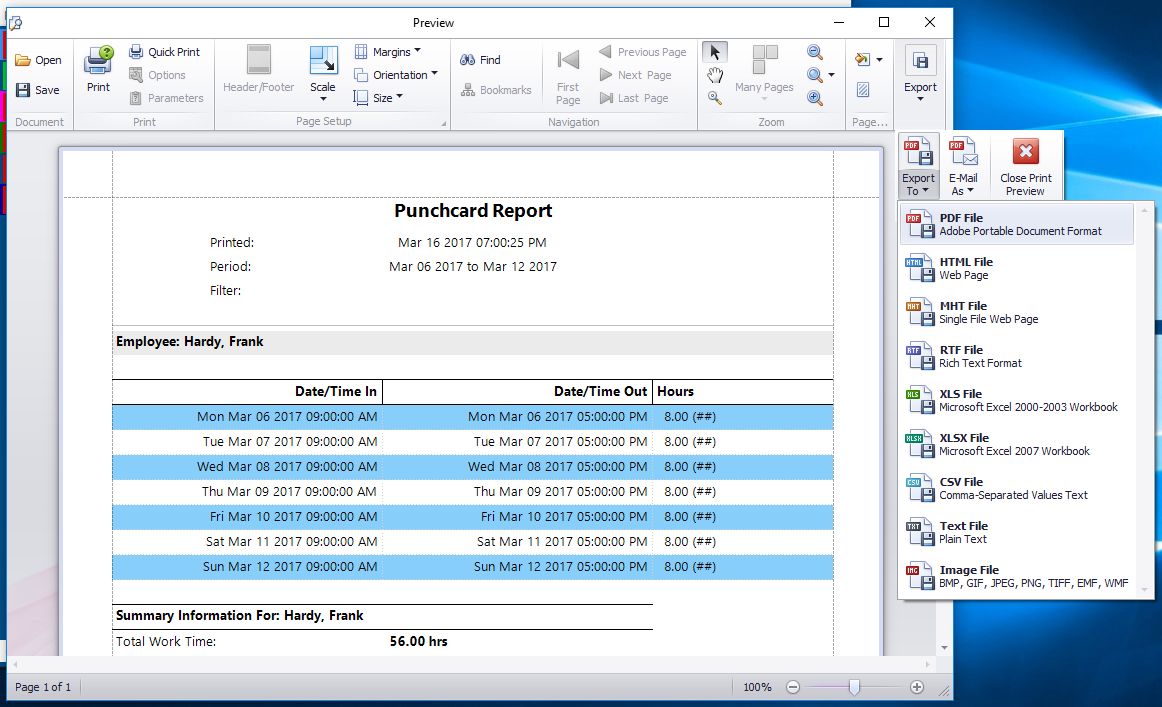
A Payroll Report
- On the far right of the toolbar at the top of the report is the Export button. Click that and you’ll be given the chance to select what format you want to export your payroll report to. See the image below.
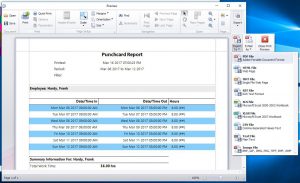
Payroll Report Export Options
- You’ll see there are a number of export options. It’s simply a matter of choosing one of the options and your report will be exported to the chosen format and you’ll be given the opportunity to view your exported file once the process is complete. In this example we chose to export our report to the Adobe PDF format and we were able to view the exported file as shown below:
The Exported Payroll Report in PDF Format
Full List of Export Formats Available
All Time Clock MTS Reports can be exported to the following formats:
- Adobe Portable Document Format(PDF)
- Web Page File (HTML)
- Single File Web Page (MHT)
- Rich Text (RTF)
- Excel Spreadsheet (XLS and XLSX)
- Comma Separated Text (CSV)
- Plain Text (TXT)
- Image format (BMP, GIF, JPEG, PNG, TIFF, EMF, WMF)
Time Clock MTS also includes a system for creating your own text based export formats for use in external payroll systems such as Quickbooks, Sure Payroll and Union Bank Payroll. For more information on creating your own export formats read the Data Export help topic.
by Mark Nemtsas | Dec 1, 2016 | New Releases, News
Version 6.0.12 of Time Clock MTS is now available for download. It addresses what we hope is the last of the issues we’ve had with the camera system. Sadly, even though we tested the system out on a great number of different USB cameras and laptops with integrated cameras we still had users experiencing issues with their own setups and we’ve fixed these problems up as we’ve found them. For the technically inclined the latest fix is for Windows 10 machines with integrated cameras. On some W10 machines the integrated camera is disconnected from the internal USB hub from time to time, presumably due to some power saving scheme. That’s fine though because Windows fires a USB disconnected message, however, when it reconnects the camera it never fires the reconnected message and the Time Clock MTS camera system didn’t know the integrated camera was available again. We’ve managed to work around this though, no thanks to Windows not doing things the way it should.
Anyway, I digress. Here’s the list of changes made to this version:
- Camera system now re-connects to a disconnected integrated camera correctly.
- The department drop down box on the Time Clock MTS Client System Settings screen now displays department names that contain non unicode (such as Cyrillic) characters properly.
- There were several button styling issues on the Time Clock MTS Client System Settings screen that have been resolved.
- Various image capture settings are now only saved when image capture is activated.
- Various image capture fields on the Camera Settings screen are now de-activated when the enable image capture checkbox is not ticked.
by Mark Nemtsas | Nov 20, 2016 | New Releases, News
Version 6.0.11 of Time Clock MTS has just been made available for download. Here are a list of the changes made:
- The camera system now gracefully handles the case where the chosen camera is already in use by some other process or program.
- Found another edge case where the camera window could potentially be behind the application window and fixed that up.
- It turns out that if you have a comma in your company name in Quickbooks then it wraps the name in double quotations when generating a timer list file. This broke the timer file import mechanism in Time Clock MTS. This has been fixed.
- Increased the size of the Verify Fingerprint screen and fixed up some styling issues on the same screen.
by Mark Nemtsas | Nov 10, 2016 | New Releases, News
Version 6.0.10 of the software was released today. Changes made all focus on improvements and fixes to the new employee camera system that was introduced recently. Here’s a list of the changes made:
- The Image Capture Path is now set locally for each computer rather than globally. This is to ensure that all computers really are storing their employee images in the same location. For example, you might have Time Clock MTS installed on your server and that computer is storing images into the C:\Time Clock MTS\ folder. This folder is then shared to your time clock client computers who set their Image Capture Path to \\SERVER\Time Clock MTS\.
- Added new Hide Camera Window setting. Allows the camera window to be hidden if there is no connected camera. If there is a connected camera the window will not be hidden. Useful if you’re not using the Time Clock MTS Administrator program to punch employees in and out and you do not want the window present all the time.
- The saving of various camera settings has been simplified greatly and the Client and Administrator camera settings are handled much better.
- New check added to Options screen to prevent saving of data with an invalid Image Capture Path.
- Put fix in place to stop camera window from dropping into the background when the kiosk mode is activated.
- Fixed an issue with the camera messaging sub-system to stop multiple messages being spawned when the main time clock window was being re-sized.