The easiest way of configuring Time Clock MTS to export data to QuickBooks is to import a QuickBooks Timer List file. This file is easily created from QuickBooks and includes information about your QuickBooks company file that Time Clock MTS needs to create a valid export data file that can be used by QuickBooks. Here’s how to create a Timer Lists file from within QuickBooks.
- Log into QuickBooks as the administrator
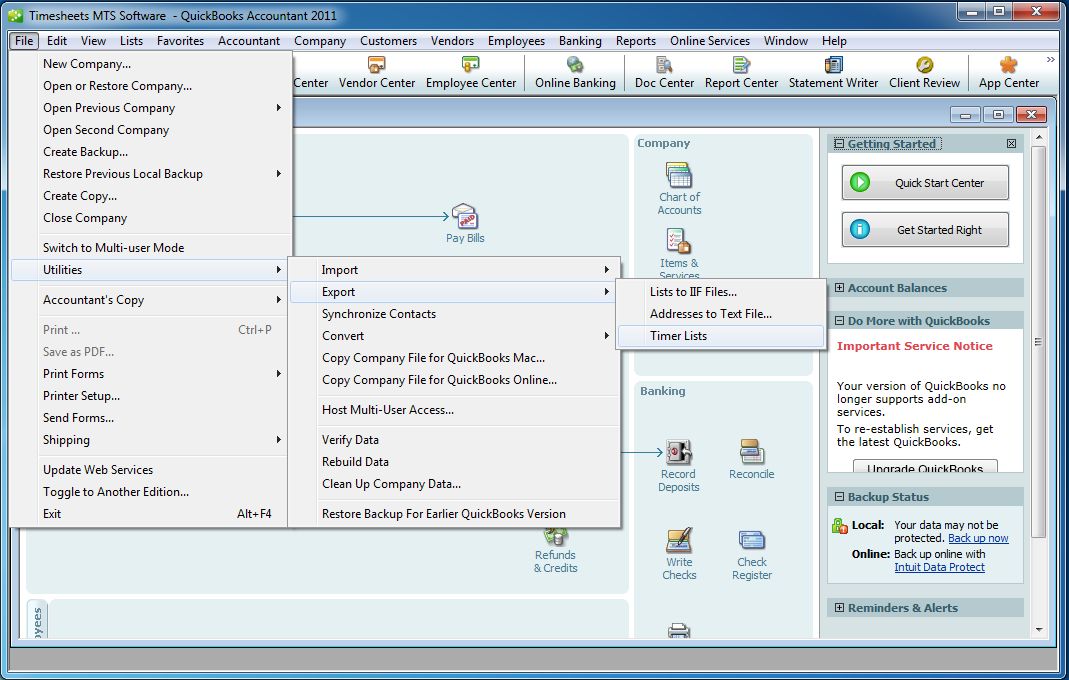
- On the File menu choose the Utilities->Export->Timer Lists menu (see image below)

Exporting the Timer Lists File
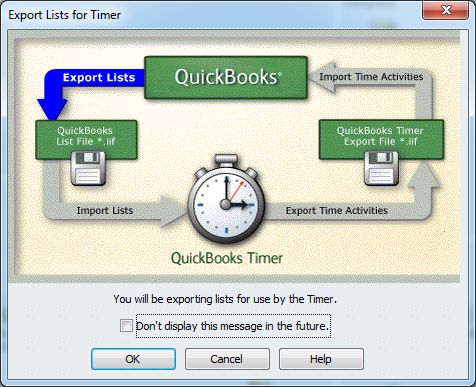
- You’ll then be asked by QuickBooks to confirm the export. See below:

Confirm the Export
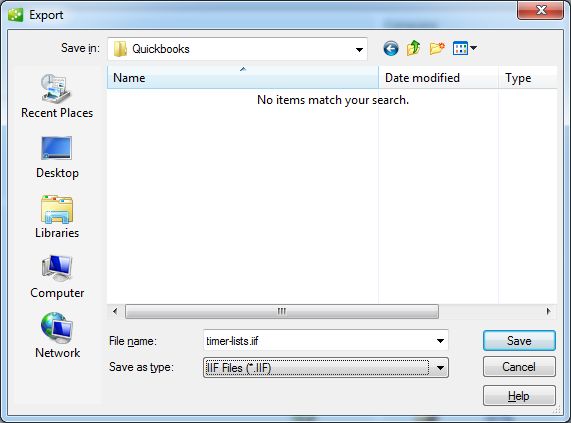
- Once confirmed you’ll need to choose a save location and file name for the export file. Note that the default extension for QuickBooks export and import files is .iif. Make sure you leave the file extension intact. In the image below the export file is being saved to a folder I’ve called (rather imaginatively) QuickBooks.
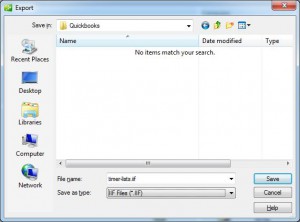
Choosing the Save File Name and Location
- Click the SAVE button and your export file will be saved with your chosen file name into your chosen location and QuickBooks will inform you of success.

There’s some instructions on how to do the same thing on the QuickBooks Support Site. Look for the section titled Export your Pro Timer Lists from QuickBooks.
Of course you’re going to want to note down the file name and location of the timer lists file so you can import it into Time Clock MTS.
