by Mark Nemtsas | Aug 20, 2012 | News
As I mentioned in a recent post on this blog Time Clock MTS is designed to be simple to use and setup. However, it contains a range of features and settings “under the hood” that allows it to be configured to suit businesses with more complex needs. It’s interesting that these sorts of features, such as biometric employee tracking, payroll calculations, and attendance tracking are also the same sort of features that are required of time clock software in the Philippines. You can even setup the software to display in Philipino, Spanish or any other language or dialect you prefer.
A recent article on the Philippine Star website discusses a group of innovative businesses who reached the finals of a “start-up tech search and business plan competition”. It’s interesting that one of these finalists has developed a time and attendance solution whose key innovations are primarily the same as those that Time Clock MTS has been offering for quite a while. Given this it’s no real surprise that there’s already more than 50 companies using Time Clock MTS in the Philippines! So, if you’re in the Philippines and you’re looking for time clock software why not give the free 30 day trial a work-out?
by Mark Nemtsas | Aug 20, 2012 | Tips and Tricks
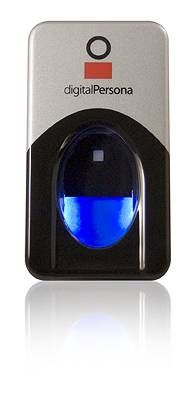
A Digital Personal USB Finger Scanner
It appears at first glance that using a time clock software package like Time Clock MTS with magnetic swipe cards or using it with a biometric finger scanner similar to the one shown above are two very different methods to tracking employee attendance. But, In my opinion, they are remarkably similar and really only differ in one key area. Swipe card time clock systems (or for that matter PIN based systems or barcode based systems) rely on each employee having a unique token to identify themselves. Obviously in the case of swipe card and barcode systems the unique employee identifier is encoded on the card or in the barcode. When employees use a PIN the PIN itself identifies the employee. A biometric time clock system has a unique identifier too, some biometric feature of the employee themselves. This could be a voice, a facial pattern or feature, an iris pattern, or most commonly a fingerprint.
It seems to me that the fundamental difference between a time clock system that uses a PIN, swipe card, or barcode to identify an employee and one that uses a biometric feature to identify an employee is the assurance that the actual employee is presenting the unique identifier or someone else is. Obviously magnetic cards and barcodes can be shared between employees and employee PINs can be passed on by word of mouth. Conversely, properly selected biometric identifiers are much, much harder to share between employees. The obvious conclusion is that a biometric time clock system gives employers a much greater assurance that the time clock data they are collecting is a true and valid reflection of actual employee attendance.
Time Clock MTS supported Digital Persona 4500 USB finger scanners are available from Amazon at under $100 and a single computer license of Time Clock MTS is just $99 (US). This affordable combination allows any small business to setup a biometric time clock solution for minimal cost, a price you’d probably recoup in just a few weeks of payroll savings.
by Mark Nemtsas | Aug 9, 2012 | Tips and Tricks, Using the Software
Here’s an email we received recently from a user of Time Clock MTS.
We have been using your time clock software for a few years now and are really happy with how it has been working. About six months ago we upgraded one of our PCs to a newer Windows 7 computer. We purchased a new License for Time Clock MTS for the new machine and it has been working very well up to today. The computer developed a PSU issue and will not boot. We are trying to get the power supply replaced but it may have more issues.
My questions are:
Is there any way to retrieve the clock in and out times without accessing the HDD on the broken computer?
By default our employee timeclock system installs a database on the local disk when you first install the software. If that disk happens to fail and you haven’t moved the database then the database (and all the time clock data therein) will be lost. So, no, there’s no way this user can retrieve their clock in and out times if they have no access to the HDD of their PC.
To prevent this sort of disaster you should keep your Time Clock MTS database on your network server where it is backed up with all your other files (you do have backups don’t you?). Actually moving the database to your network server can be done within Time Clock MTS itself. That process is pretty simple and covered completely in the How to Move the Time Clock MTS Database how-to article.
The moral of the story is, if you have shared network drive that is backed up then you should be using it to store your Time Clock MTS database. This will prevent you from losing your data in the event of hardware failure.
by Mark Nemtsas | Aug 9, 2012 | Tips and Tricks
A common question we get asked is whether purchasing our employee timeclock software is a one-time fee or is there a monthly or annual fee to keep using the software. Quite simply you pay once to use the software but there can be on-going support costs if you require our assistance. Here’s how it works in more detail:
- The purchase gives you a lifetime license to use that major version of Time Clock MTS. Currently we’re at version 5.1.2, so the major version is 5. If you were to purchase Time Clock MTS now your registration key would work until the software went to version 6. But of course, you can keep using Version 5 indefinitely, you do not have to upgrade.
- The purchase entitles you to one year of email support and access to software updates. If the software goes up a major version within this year you’ll get a new registraton key for the new version.
- After the first year email support (and software updates) is $25 (US) for the Stand Alone Version, $50 (US) for the Network Version, and $100 (US) for the Network PLUS Version. Purchasing support is optional, your registration key will keep working whether you purchase it or not. You just will not be entitled to any email support or access to new versions of the software if you do not have a valid support contract.
by Mark Nemtsas | Aug 9, 2012 | How To
This Time Clock MTS How To Guide explains the process of moving your employee attendance database to a different location. This is useful if you do not want to store your valuable time clock data on your local computer but rather on your network server where the file is backed up and more secure.
1. Close All Time Clock MTS Clients
The first step is to close all Time Clock MTS client programs. If a client is still connected to the Time Clock MTS database you are trying to move then it will not be able to be moved.
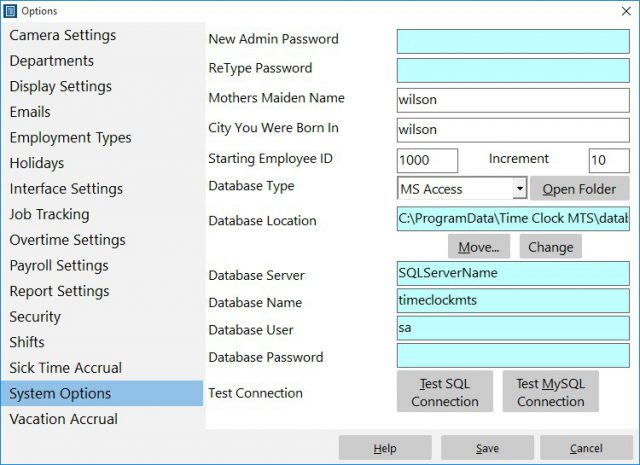
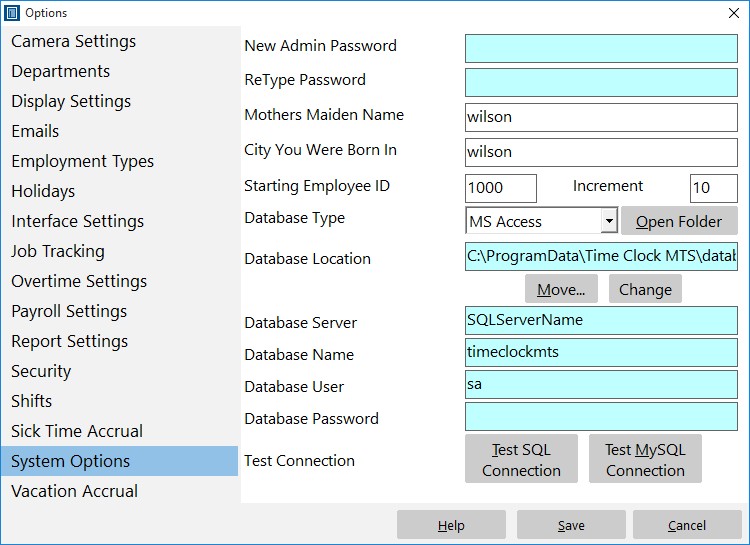
Figure 1 – The System Options Screen
2. Navigate to the System Options Screen
The next step is to log into Time Clock MTS administrator program as the administrator and go to the Tools->Options->System Options screen. On this screen we can see that the database location is on the local c:\ drive. To move this file click the Move button.
3. Select the New Database Location
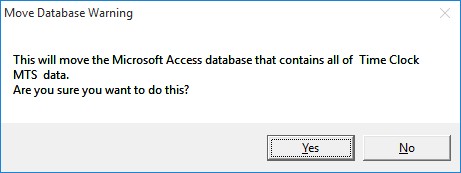
Figure 2 – Confirm Database Move
Confirm the move action by clicking Yes on the screen above.
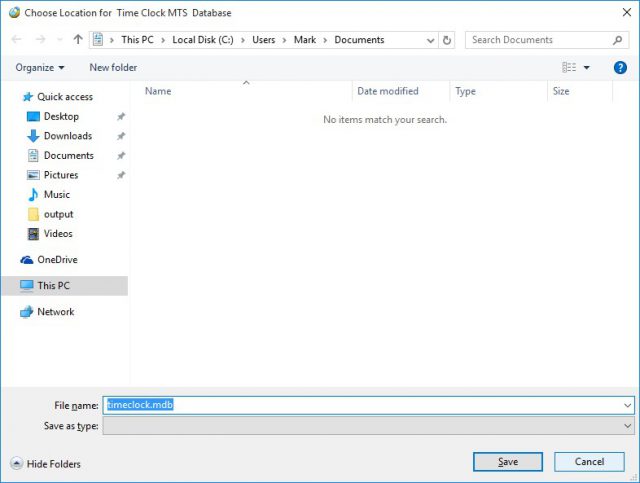
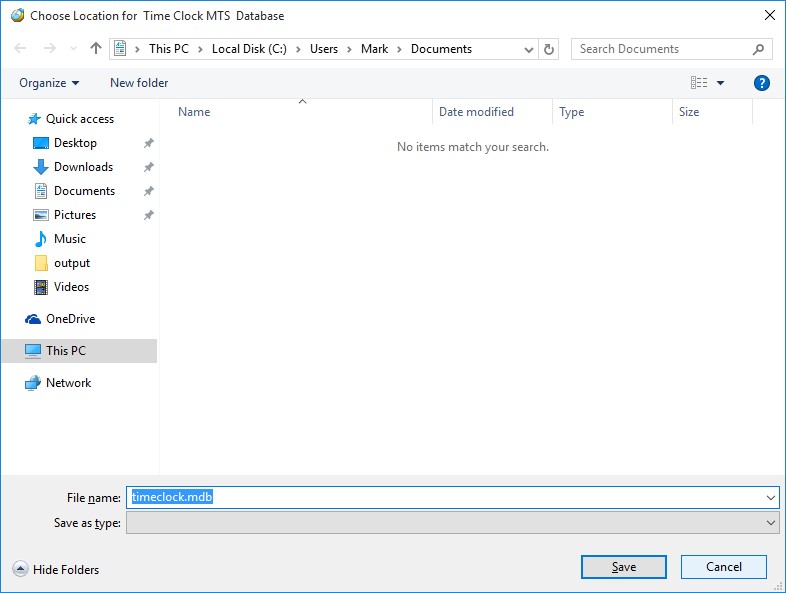
Figure 3 – Select a Location
We’ll then be shown a folder browser window similar to the one above. In our example we’ve prepared a network drive that we’re going to move the Time Clock MTS to. It can be seen at the lower left of the above screenshot and is called “Time Clock MTS” and has been mapped to the X:\ drive. We should note that Time Clock MTS must have full/read write permissions on the folder that you’re going to store the Time Clock MTS database in.
We’re going to click on the new database folder now.
4. Save the New Location
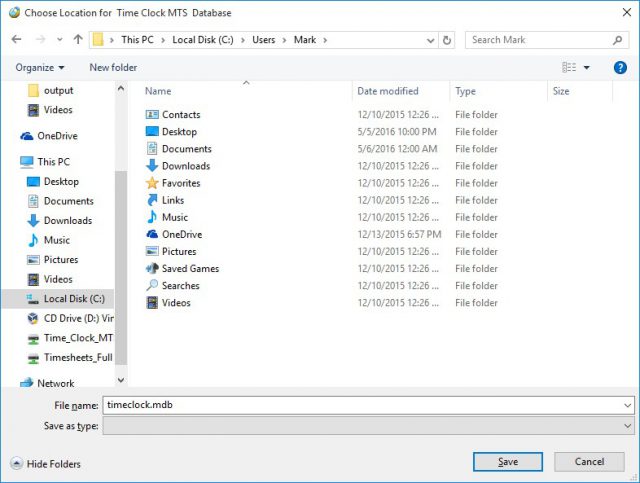
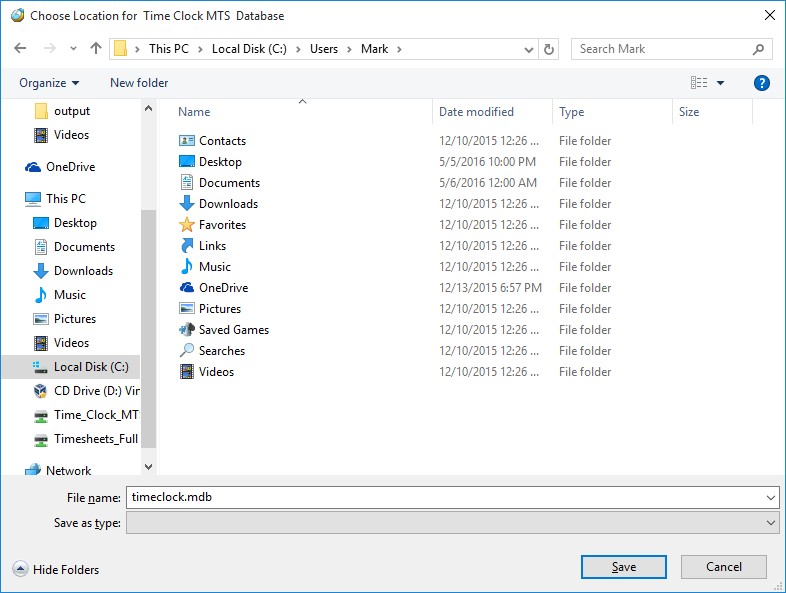
Figure 4 – Location Selected
Once the new location is chosen the folder browser window looks like the screenshot shown above. We’re going to confirm the move by clicking the Save button.
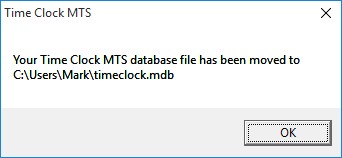
Figure 5 – Database Move Successful
The folder browser window will now close and Time Clock MTS will display a message similar to the one above informing us that the database has been moved. This message can be acknowledged by clicking the OK button.
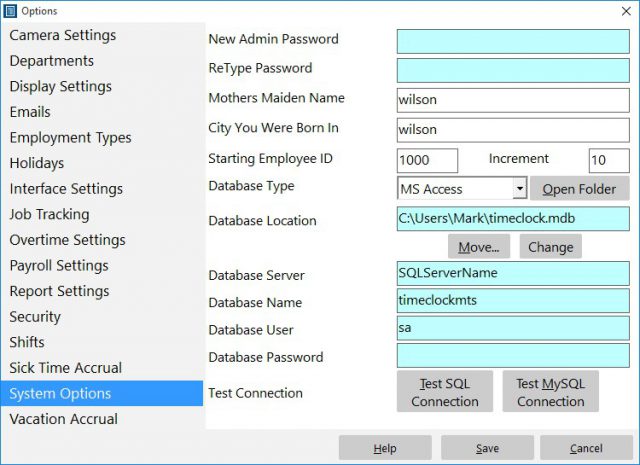
Figure 6 – New Database Path
We’ve now been returned to the System Options screen. We can see that the Database Location has been changed to our selected location.
Moving the Time Clock MTS database is now complete. Note that the next time you run any Time Clock MTS clients you’ll be asked to connect to a database and you’ll need to navigate to this new location on the client computers.