Quite a few users of Time Clock MTS have decided that they need more than one administrator installation of the software. This might be because they want to run reports from one location and administer the database from another, or perhaps because they want to control employees from different departments from different computers. Time Clock MTS can accommodate this, with a couple of provisos, firstly you must have a license for the second PC, and secondly, only one of the admin computers at a time can be logged in. This blog entry will show you how to setup the second administrator installation.
- Setup and configure your first administrator installation and move your Time Clock MTS database somewhere on your computer network. The database file must be visible from the computer you plan on installing the second administrator license on. The second computer must also have full read/write/execute/delete permissions on the folder that the database is in. You can read how to move your database here here.
- Install the admin software on the second computer and run it. You’ll be asked to enter a password, go ahead and do that and take note of what you set the password to.
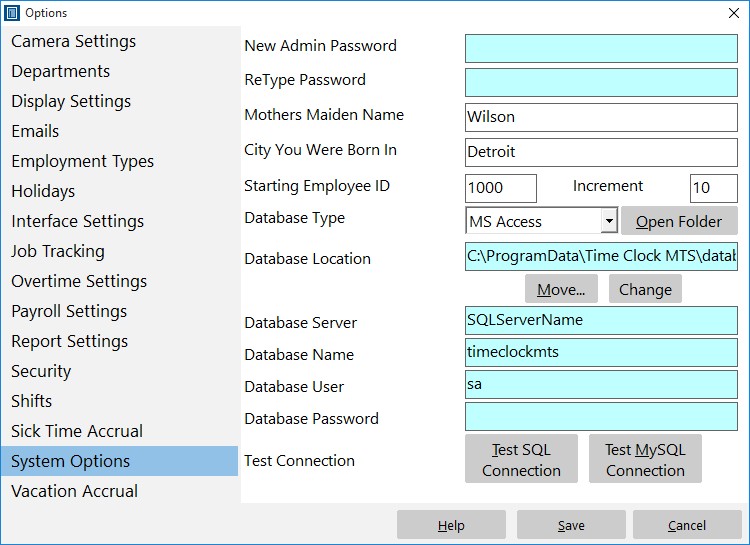
The System Options Screen
- Log into the software as the administrator and go to the Tools->Options->System Options screen (see image above).
- Click the CHANGE button which can be seen on the right of the above screen about half way from the top.
- You’ll then be given a chance to browse to where you moved your time clock database in step 1. Find it, select it, and click OK.
- Click the Time Clock MTS SAVE button to save the changes. You’ll now be taken back to your employee list where you should see all of your employees.
That’s all there is to it. You’ve just set up a new time clock administrator computer. As always contact us if you have any problems.
