To ease the process of using Time Clock MTS with SQL Server we’ve created a small utility to export our standard time clock data file to SQL Server. It is important to realize that this tool is in BETA release only and should be used with some caution. This article explains how to use the Time Clock MTS Database Exporter Utility.
Before You Start
Before you start make sure of the following:
- The utility can ONLY be run from a computer that has Time Clock MTS Version 6 or higher installed on it. It is installed as part of the installation of the Time Clock MTS Administrator program and the Stand-Alone Edition. If you’re using a recent version of Time Clock MTS it is installed as part of the installation of the Time Clock MTS Administrator program and the Stand-Alone Edition. An installer for the Database Exporter can also be found here.
- You’ll (obviously) need an SQL Server (or SQL Express) install to work with and a database on the server to use. ALL DATA IN THE DATABASE YOU’RE GOING TO EXPORT TO WILL BE DELETED.
- You’ll need login details for an SQL AUTH user with permissions to add/drop tables and columns for the database you’re going to export to.
Running the Utility
Run the utility by clicking on the Database Exporter icon in the Time Clock MTS program folder. In Windows 10 you can find this by typing “Database Exporter” into the search box on the Windows command bar. For earlier versions of Windows find it using the Start->All Programs->Time Clock MTS->Database Exporter menu. You’ll then be shown the screen below:
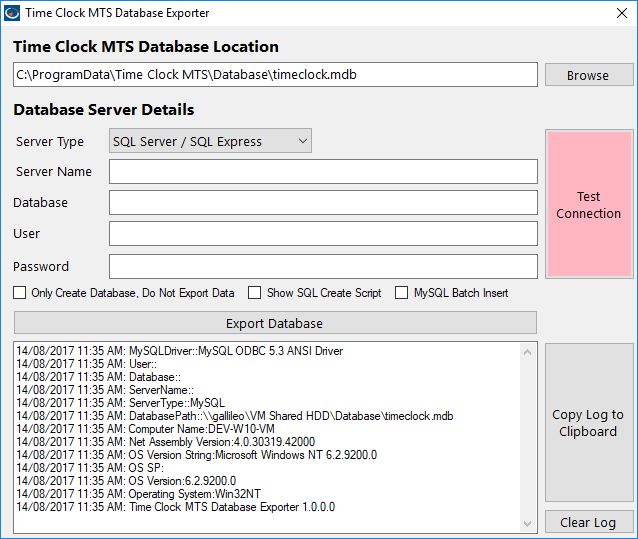
The Time Clock MTS Database Exporter
Selecting a Time Clock Data File to Export
Click the Browse button to choose a time clock data file to export. The utility should automatically select the time clock data file you’re currently using but you might like to change it.
Test the SQL Server Connection
Make sure you’ve got the Server type dropdown selected to SQL Server / SQL Express. The next step is to enter your SQL Server (or SQL Express) connection details, including the Server Name, Database, User, and Password. Note that the Database must already exist, the Utility will not create it for you. See below for what this might look like:
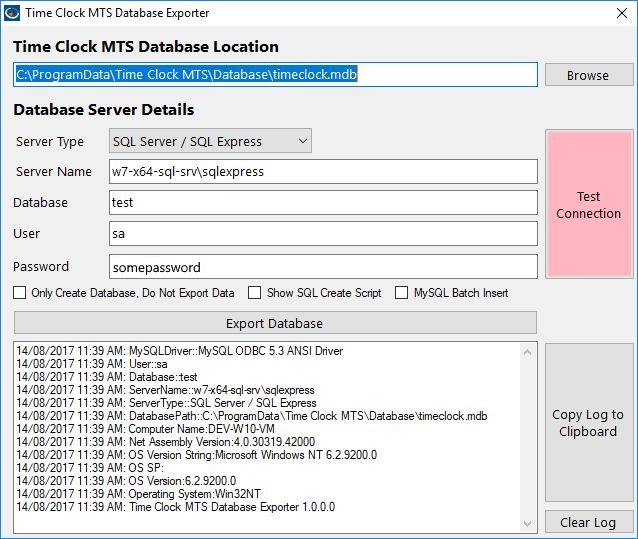
Entering the SQL Connection Details
Once you’re happy with the details click the Test Connection button and if all is good with the world you’ll get a screen like that below:
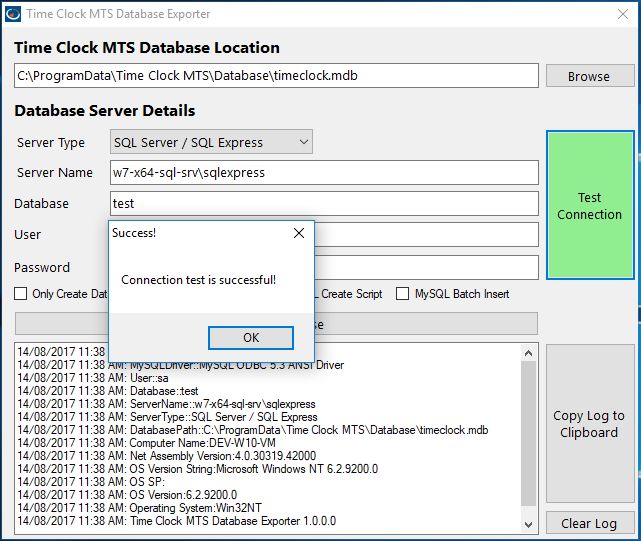
Testing the Connection
Export the Database
Now that you’ve selected your data file to export and tested the connection to SQL Server you’re ready to export your data. Click the Export Data button. Wait until the process is complete (which could take any where from a second or two to a minute or more) and you should see a Database exported successfully message (see below). That’s it, you’re done. You can now learn how to connect Time Clock MTS to the SQL Server database by looking at the Installing Time Clock MTS Network PLUS Edition and SQL Server page.
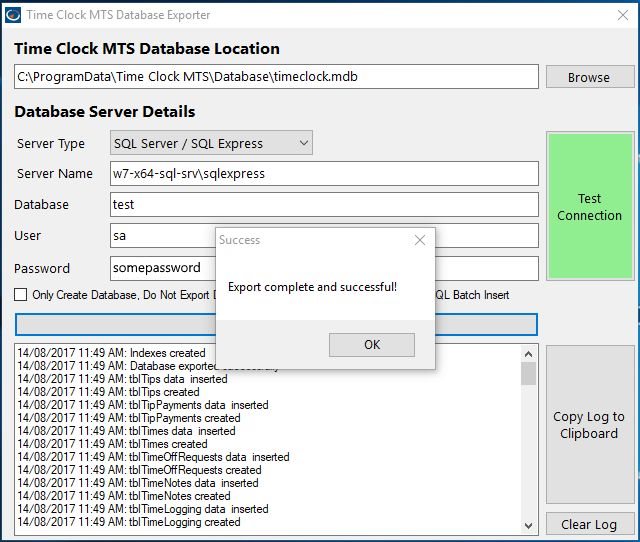
Data Export Success!
What if Something Goes Wrong
If something goes wrong with the export process you’ll see some sort of error message in the log area and a message suggesting you email the log to us. Please do that by clicking the Copy Log to Clipboard button pasting it into an email and sending it to us.
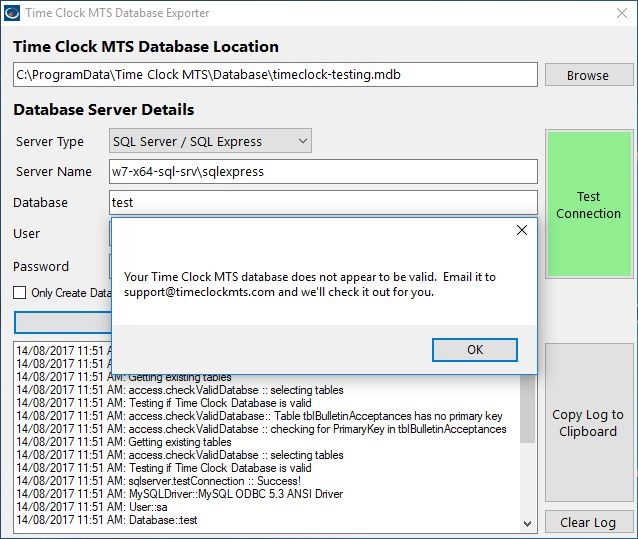
Oops. Something went wrong.